
How to Buy and Use Your Vibration Shaker Wisely
Smart Guide to Buying and Operating a Vibration Shaker: Everything You Need to Know
Vibration testing plays a vital role in product development and validation, ensuring that items can endure the dynamic conditions they will face in real-world applications. By simulating everyday usage scenarios, vibration testing helps engineers identify potential points of failure and assess how a product, component, or system behaves under stress—ultimately enhancing its durability and performance.
This testing method is crucial across numerous industries, including aerospace, defense, automotive, telecommunications, and consumer electronics, where reliability is non-negotiable. Whether you’re evaluating military-grade hardware, avionics equipment, or handheld devices, vibration testing is essential for meeting both regulatory standards and customer expectations.
Among the most widely used technologies for this purpose are electrodynamic vibration shakers, which offer a high degree of flexibility and control. These systems can reproduce a variety of test profiles, such as sine, random, shock, sine-on-random, and random-on-random, and even replicate vibration patterns captured during real-life operations.
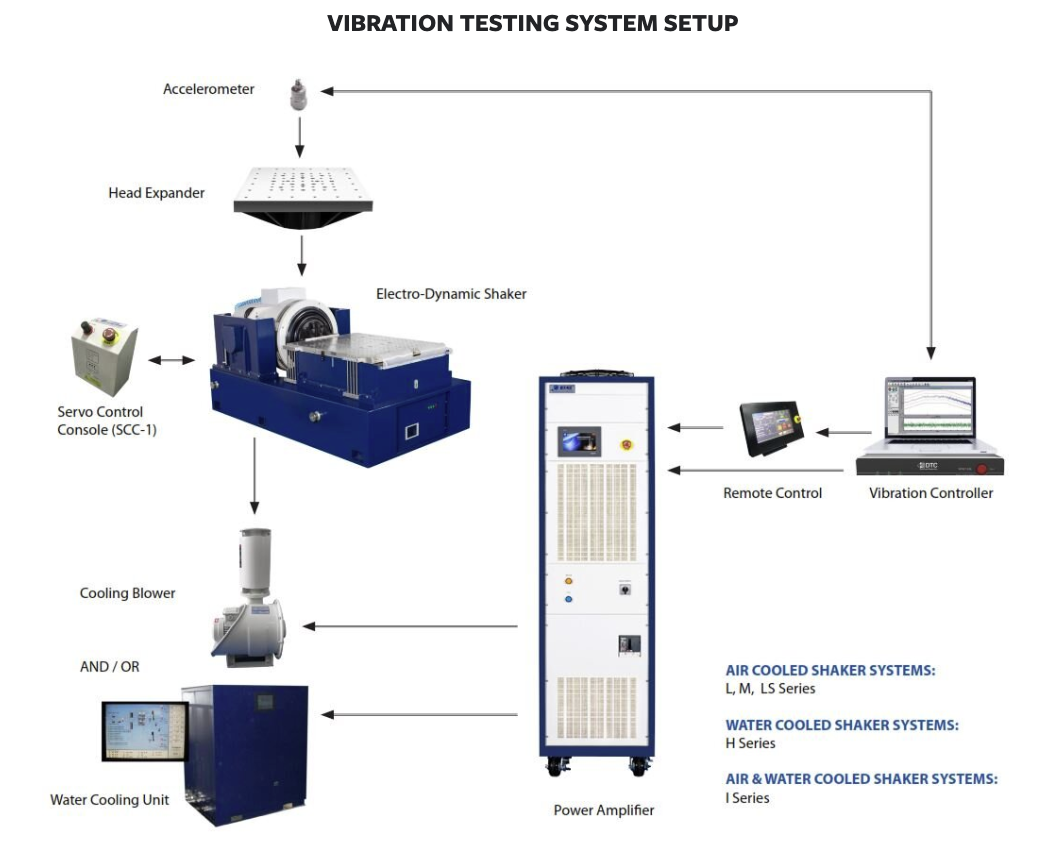
The illustration below highlights the core principles and main components of a modern electrodynamic vibration testing system, providing a visual overview of how these advanced machines simulate motion and measure product resilience under various frequency and acceleration profiles.
Purchasing a vibration shaker is a serious investment—one that directly affects your product’s reliability, regulatory compliance, and market success. Whether you’re designing automotive parts, aerospace components, consumer electronics, or medical devices, understanding how to select and operate the right vibration testing equipment is crucial.
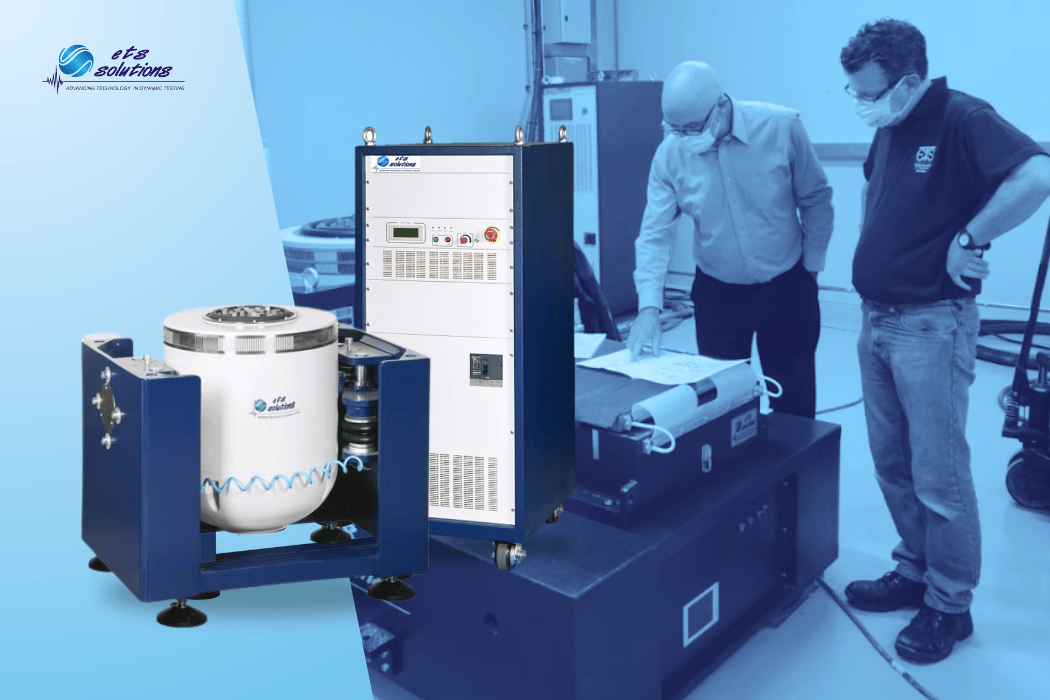
At ETS Solutions, we provide an extensive selection of vibration testing systems designed to accurately replicate the dynamic conditions products experience during operation and in real-world environments.
Choosing the right vibration shaker can feel like navigating a maze—it’s a complex decision that requires technical insight and careful consideration. It’s not unusual to wonder, “What if I choose the wrong system?”
To make an informed decision, it’s essential to evaluate key factors such as the required frequency range and waveform type, allowable displacement and velocity, testing axes (single or multi-axis), payload capacity, shock and vibration intensity, and overall force rating. Each of these parameters plays a critical role in ensuring your test setup aligns with your product’s performance requirements and industry standards.
Here’s a comprehensive guide to help you make informed decisions and get the most out of your vibration test systems.
1. Understand Your Testing Needs Before You Buy
Not all vibration shakers are created equal. Before making a purchase, clearly define:
• Your product’s weight and dimensions
• Desired frequency range and amplitude
• Types of tests (random, sine, shock, or mixed modes)
• Environmental conditions (temperature, humidity)
Before starting any vibration test, it’s crucial to choose a shaker that aligns with your application requirements. Begin by answering these key questions:
What is the total test payload?
Calculate the total weight by combining the test specimen, any necessary mounting adaptors, and fixtures. Adaptors are often essential when the test item cannot be mounted directly onto the shaker armature—especially since modifying or drilling into the armature is not advisable. Be sure to include all components that move with the system during testing, such as connectors, cables, and bolts, in the final payload calculation.
What acceleration level is required?
If you’re unsure of the exact acceleration values for your test, convert your vibration specifications into acceleration units. Use g-peak values for sine wave testing or g RMS for random vibration testing to determine the appropriate shaker capability.
Helpful conversion: 1g = 9.8 m/s² (metric)
Is The Displacement Within the Shaker’s Capability?
Before purchasing a system, it’s essential to ensure that the required displacement falls within the shaker’s stroke limitations. Examine the lowest frequency specified in your test and calculate whether the shaker’s displacement capacity can accommodate the intended acceleration at that frequency.
Quick metric formula for displacement (peak-to-peak):
496.82 (acceleration in g) ÷ (frequency in Hz)² = displacement in mm (pk-pk)
By carefully planning your vibration test setup and confirming displacement compatibility, you’ll improve both the accuracy and reliability of your testing process.
Pro tip: Look for customized vibration shaker solutions that match your testing profiles precisely. ETS Solutions provides modular systems tailored to industry-specific standards.
2. Check Key Specifications That Matter
Evaluate critical specs such as:
• Peak force (lbf or kN)
• Frequency range (Hz)
• Maximum acceleration (g)
• Armature diameter
• Displacement and velocity
• Cooling method (air or water)
Choosing a shaker without matching these specs to your product’s test conditions can result in inaccurate data or early system failure.
By clearly identifying these parameters, you’ll be better equipped to select a vibration shaker system that ensures accurate, efficient, and reliable test results.
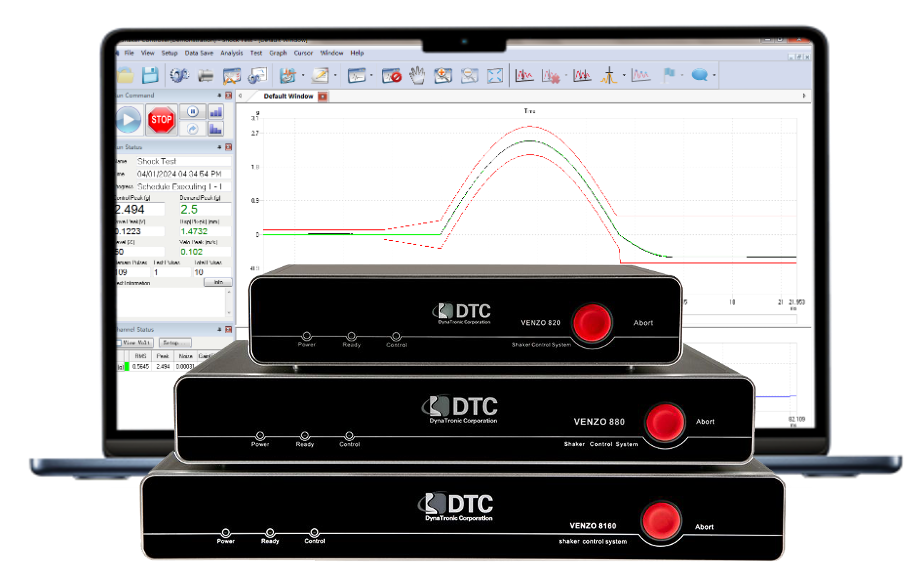
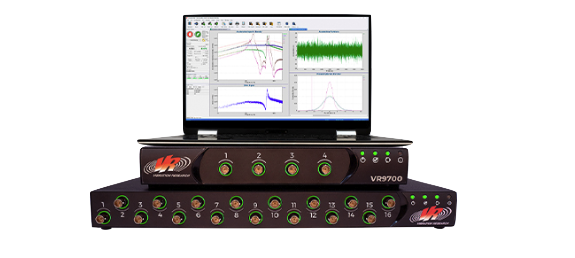
3. Match the Right Amplifier and Controller
A shaker is only as good as its controller and amplifier. Opt for:
• High-efficiency digital switching amplifiers
• Real-time data feedback and closed-loop control
• Multi-axis support (X, Y, Z)
• Scalable software interfaces
Modern vibration testing systems integrate seamlessly with data acquisition and automation tools. ETS offers systems pre-configured for ISO, MIL-STD, and IEC testing.

4. Evaluate Operational Safety and Installation Needs
To prevent unexpected downtimes and damage:
• Install the system on vibration-isolated flooring
• Maintain sufficient ventilation
• Monitor power supply and grounding
• Consider acoustic enclosures for noisy environments
ETS Solutions provides expert site preparation advice to help you meet facility requirements.
5. Prioritize Maintenance and Service Support
Vibration test systems are mechanical-electrical hybrids—meaning preventive care is essential. Choose a vendor that offers:
• Annual preventive maintenance and certification
• Remote diagnostics and monitoring
• Quick-response customer support
• Global parts availability
ETS offers ongoing maintenance plans to maximize uptime and extend equipment life.
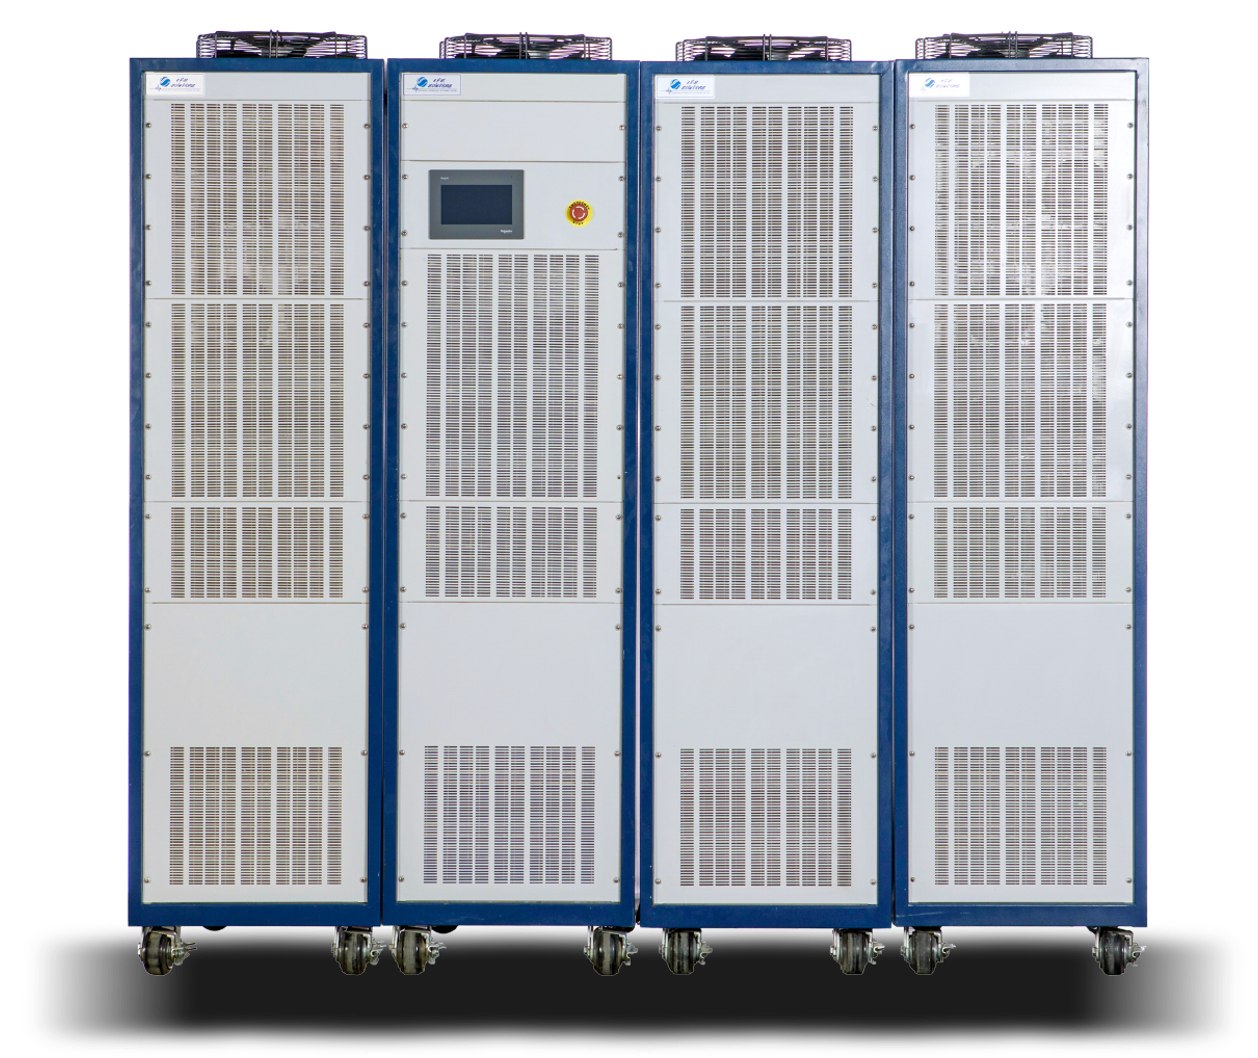
6. Don’t Ignore Long-Term Costs and Energy Use
Energy consumption is a hidden cost in high-frequency, high-acceleration testing. Choose energy-efficient vibration shakers that reduce power draw and heat output without compromising performance.
💡 For example: ETS’s amplifiers are designed to deliver higher efficiency, consuming up to 20% less power than conventional systems.
7. Learn Before You Launch
Training your team on operating best practices avoids misuse and costly errors. A few operational tips:
• Start with low levels and ramp up
• Regularly check mounting fixtures
• Maintain test logs for traceability
• Always pre-inspect the specimen and setup
ETS Solutions offers on-site training and easy-to-follow operation manuals.

Important Considerations for Running a Successful Vibration Test
While experienced labs may make vibration testing appear effortless, it actually requires a strong foundation in vibration theory, fixture design, and hands-on expertise with the test system. Poor preparation can result in inaccurate results—or worse, damaged equipment or test items.
Here are a few key things to consider before you begin:
Use the Correct Fixture
Your device under test (DUT) must be securely mounted. If you lack the proper fixture, you’ll need to design and manufacture one, which could add time to your project. A poorly fitted fixture can lead to test failure or compromise data accuracy.
Check for Resonances in the Setup
Before installing your DUT, consider running a scan with just the fixture mounted on the shaker to identify and address any resonance issues, especially if your test includes high frequencies (2,000–3,000 Hz).
Verify All Equipment Functionality
Ensure that the DUT and any support equipment are fully functional prior to running the test. This step helps catch issues that could affect results or damage the system.
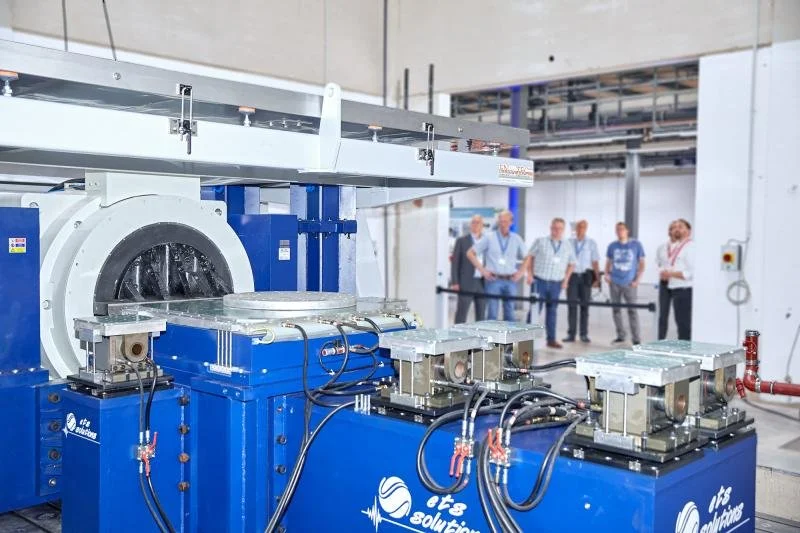
Planning for Multi-Axis Vibration Testing
While most vibration testing involves evaluating all three orthogonal axes (X, Y, Z), the reality is that these tests are typically conducted one axis at a time. Transitioning between axes—especially when shifting from a horizontal setup to a vertical orientation—requires careful planning and additional time.
Switching configurations isn’t as simple as rotating the device. The process may involve:
• Detaching the test fixture from the current setup.
• Disconnecting the system from the horizontal slip table.
• Repositioning the shaker from horizontal to vertical mode.
• Installing a vertical head expander suitable for the new orientation.
These changes demand both time and precision. For example, if your total vibration test duration is eight hours, you should plan for extra hours—or even an additional day—just for reconfiguration. Depending on the size of the device under test (DUT), the complexity of your fixtures, and the equipment involved, the time required for axis transitions can range from less than an hour to a full day.
Pro Tip: Schedule Smart
To avoid delays and unexpected downtime:
• Coordinate fixture design with axis-switching in mind.
• Communicate clearly with the testing lab about setup requirements.
• Build transition time into your test schedule from the outset.
By proactively accounting for axis switching, you’ll keep your project on track and ensure efficient use of lab time and resources.
Need Help Choosing the Right Vibration Shaker for Your Lab?
Not sure which vibration test system fits your setup? We’ve got you covered.
At ETS Solutions, our experienced team is here to guide you through the selection process. Whether you’re setting up a new test lab or upgrading existing equipment, we’ll help you choose the most suitable vibration shaker, control systems, and accessories—all tailored to your testing requirements and budget.
Let us design a customized solution that includes everything you need for current and future vibration testing demands.
📩 Get in touch with our team today to explore your options and receive expert guidance.
See also our article on How to Choose the Right Vibration Shaker Machine for Your Testing Needs